There are many articles about DNS online, so I won't explain too much about it. Basically it takes the name of a url like google.com, and converts it to the ip address that is really used to talk with that machine. These packets are by default unencrypted. This means that your ISP can see your traffic. This is enough to show what services you are running on your cell phone, sites you visit...etc. We can use a VPN and tunnel traffic through that, but those queries can leak out over to the ISP's network when they aren't going through the VPN. It is possible to set up a "kill switch" that will block any of the packets going through the ISP, but then we'd never be able to resolve the VPN's server's IP address!
With this in mind, companies have been trying to solve the problem by using "DNS over HTTP", which is now the default in firefox and chrome. Problem with this is that we have to trust the servers that are configured by default. Those DNS servers know who is requesting that information, so that is the point at which one can be collecting data. You can disable this feature under the settings then internet settings on each browser. By changing the browser settings it will default to letting your computer handle the DNS.
By properly configuring the PfSense, we can better secure our DNS by using the encrpyted DNS or DNS over TLS, which is on port 853. With it being in our control, we can also specifiy servers we trust in one central location.
I don't know if this is the perfect way to solve the problem, but we will allow our local clients to use DNS unencrypted over port 53 or encrypted over port 853. For local clients it doesn't matter in most home situations. Those packets will be directed to the pfsense firewall. That firewall will then query the servers using DNS over TLS through either the WAN or the VPN I have configured. I'd prefer over the VPN, but I am not sure how to handle that initial query for the VPN server, so I'll keep it simple... the packets are encrypted either way.
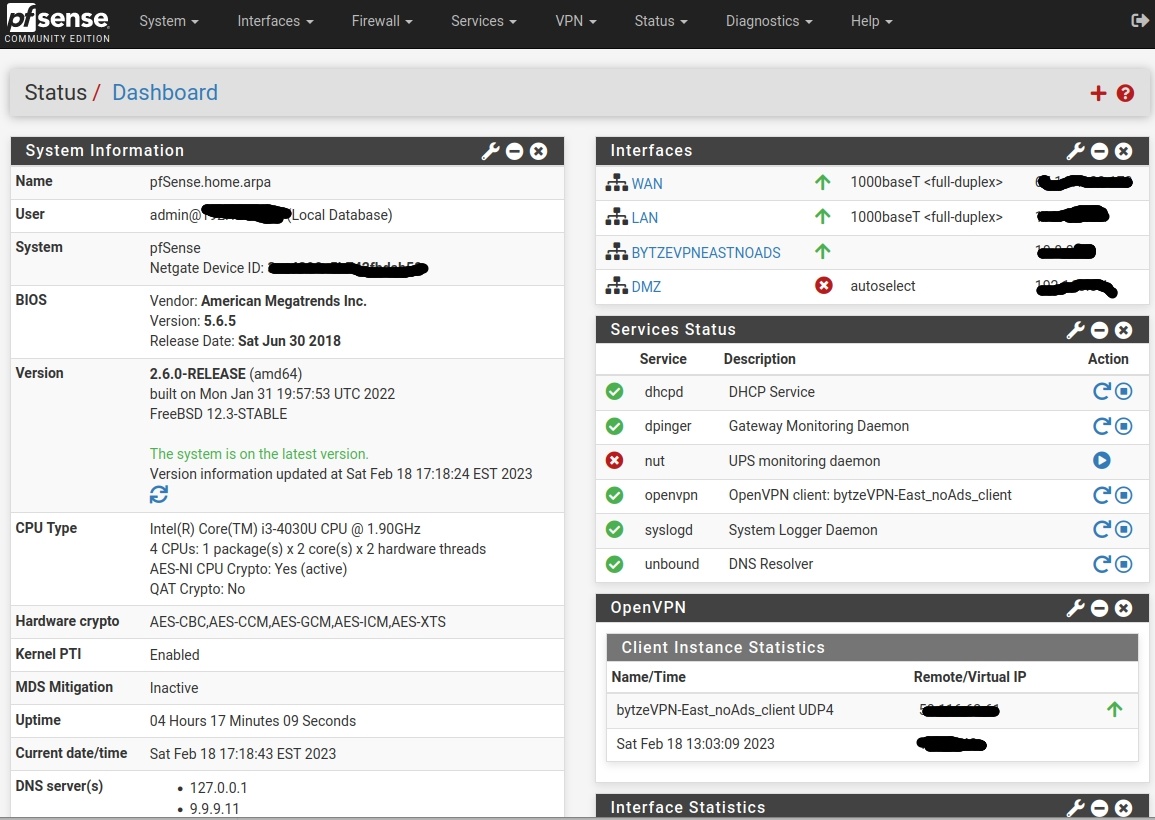
First step is to make sure the DNS Resolver is configured properly. On pfSense's main page click "Services" then "DNS Resolver" make sure you have the settings below... make sure you select the proper interfaces in the outgoing and "network interfaces" sections. The outgoing interfaces need to be your WAN and any VPN you want the queries to go over. The "Network Interfaces" is the one your pfsense will be listening for requests. This is simply my LAN interface.


when you have made the changes click "Save" and you may need to then click on "Apply Changes" to make them active.
The next step is to configure your pfsense's settings. To do that at the menu bar on top click "System" and "General Setup" if you are using Quad9 services you'll use the ip addresses I have in there. If you want to use another service you'll have to specify that service's ip address. Another important option is that you want to make sure you NEVER let the WAN or VPN override your DNS provider. If you do you'll be leaking DNS queries.

Of course, scrolled down the page and click "save" then "apply settings" if it asks. At this point you'll be sending DNS queries that are encrypted. I like to take one more step and add some firewall rules to further control the DNS...
In the top menu click "Firewall" then "Rules". I won't go into depth on creating the rules, but the idea is you want to always allow the WAN and VPN interface from the "lan address", which is your pfsense, to send queries to those specified DNS servers. If you'd like you could create an alias for those specifed DNS servers and say block all traffic going to DNS that's not those servers. For me I'll keep it simple...
for the WAN and VPN:
Allow DNS from wan address (pfsense) to anywhere on port 853.
block DNS all on port 53
for the LAN:
Allow DNS from anyone to lan address (pfsense) using port 53 or 853
block DNS from all on port 53 or port 853.


When you are finished setting up the DNS and the firewall rules, there is a site calld DNS leak test that you can visit. It will allow you to test your DNS settings and reports which servers can see those requests. Note that if you haven't disabled your DNS over HTTP you'll see the servers your web browser is configured to use. You should make sure these servers are ones that you have configured.
Sources:
https://quad9.net/service/service-addresses-and-features/#ecssec
https://sectigostore.com/blog/what-is-a-dns-leak-how-to-find-fix-dns-leaks/
https://www.howtogeek.com/844964/how-to-flush-dns-in-linux/


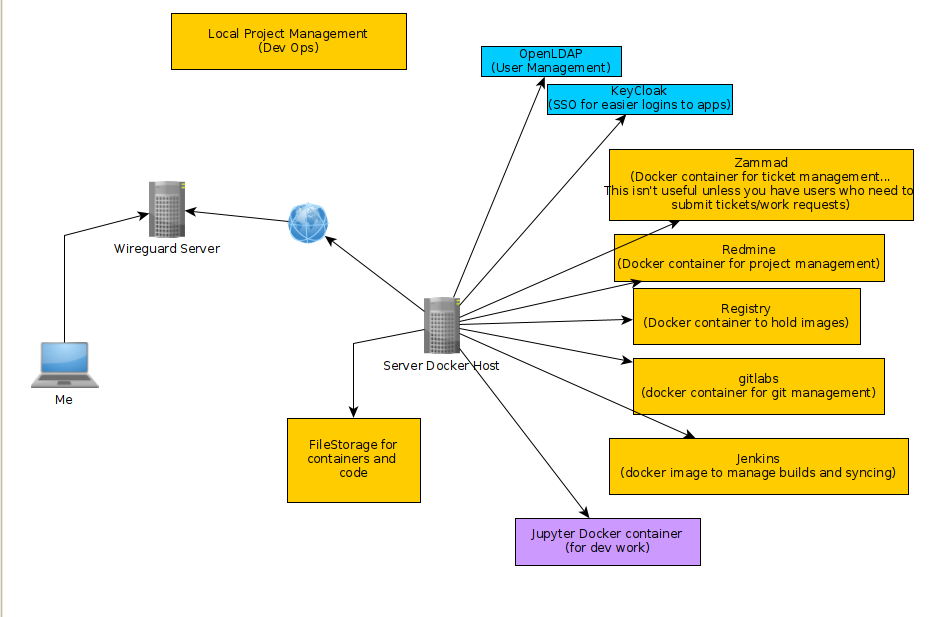
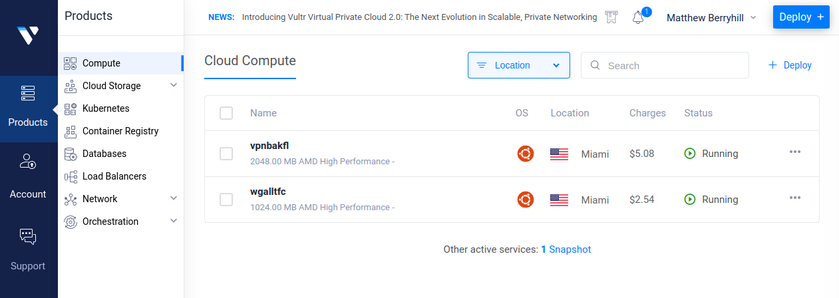
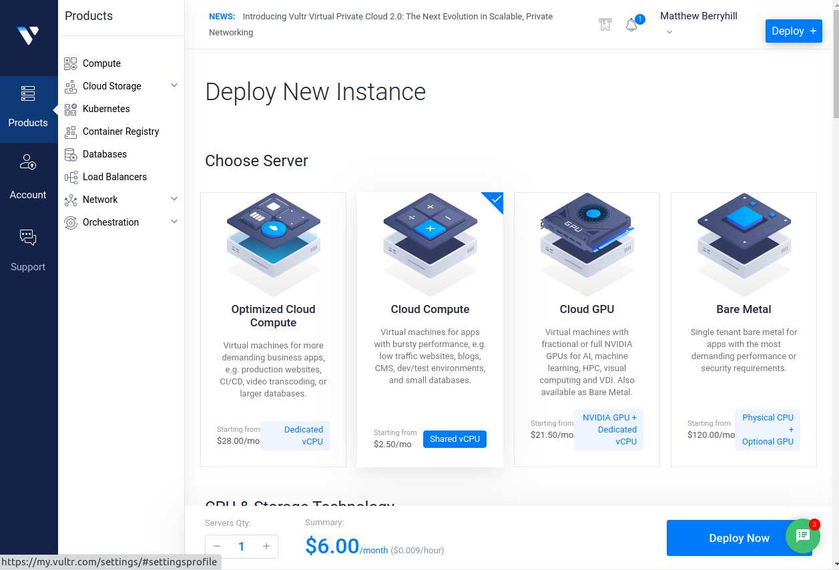
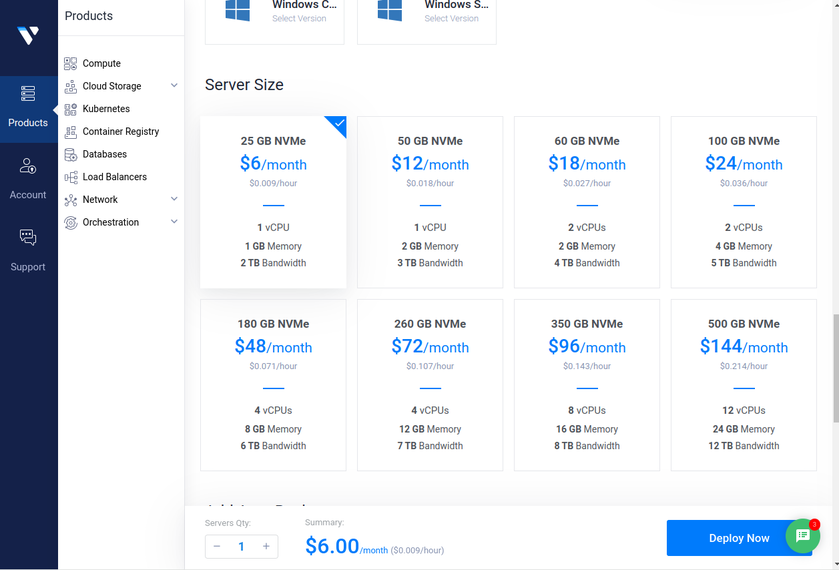
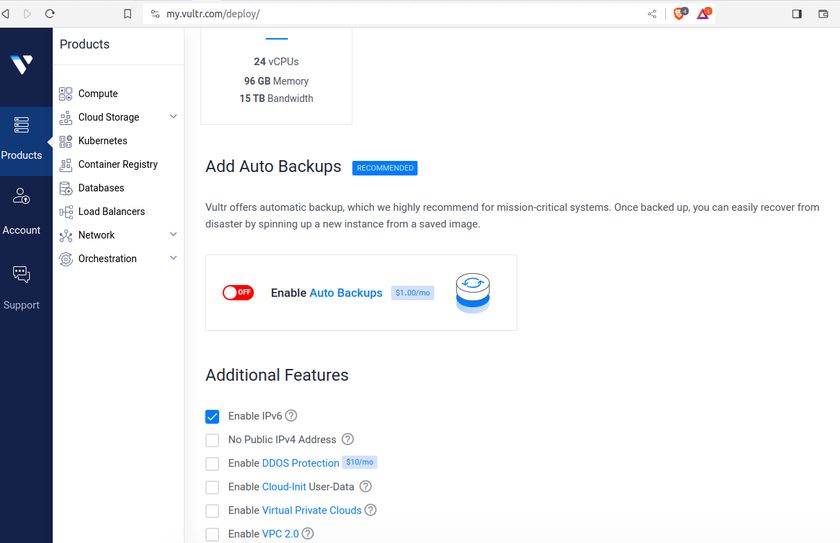
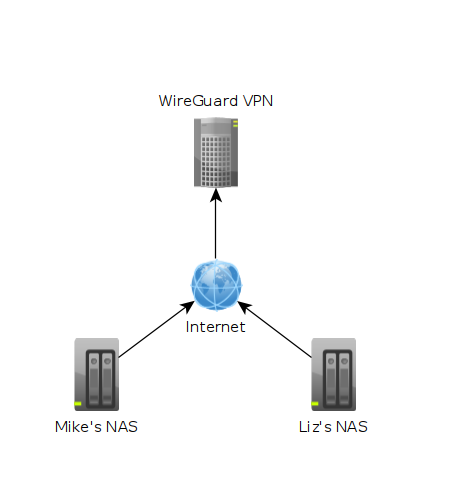 In the image above each machine is at a different location. One might be in Texas while another could be in Washington. The "Wireguard VPN" is the only one that we can directly talk to on the internet. In other words, it's the only one exposed publically. This machine is running on a cloud provider such as vultr.com or you can run it on amazon's cloud too. Vultr has machines with 1GB ram down to around $5, so I've been using them.
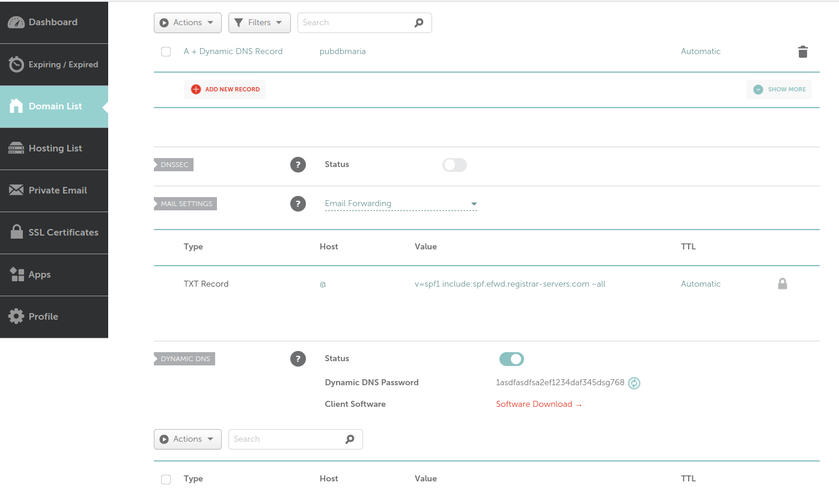
 What we can see in this image is that I own the xyz123.net on my account. That's the domain I own. I can add subdomains by clicking on "Manage" then click on "Advanced DNS". When the page loads click on "Add new Record" you want to make sure you pick "A+ Dunamic DNS Record" then for host you'd put the subdomain you want like "wireguard". When you try to access it, you would go to "wireguard.xyz123.net"... btw we aren't done on this page yet. We have to make sure we enable dynamic DNS clients...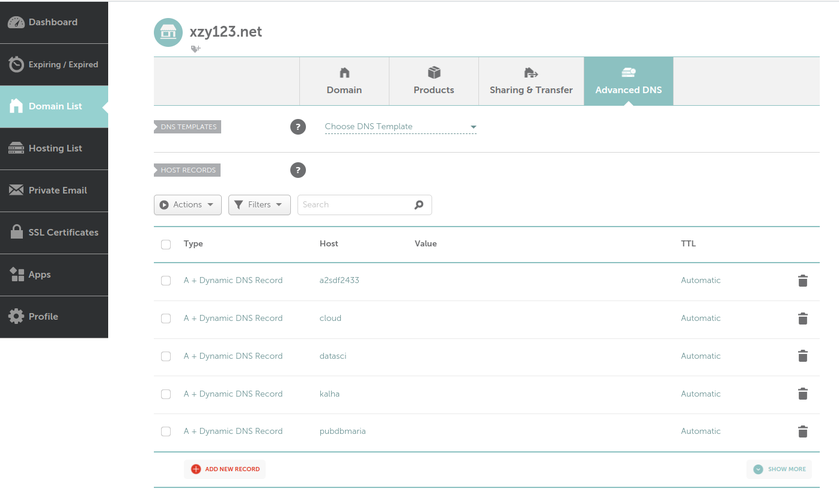
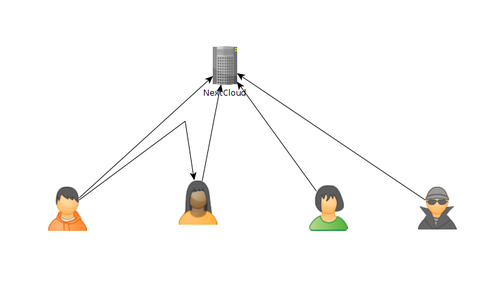 As of today, there are some issues with this syncing. First one is that if a user A shared their files with another user B, that user B will immediately start downloading the files whether they want them or not. There is a feature you can enable to prevent automatically downloading if the filesize is too large. This helps mitigate issues but not completely. If someone really wanted to mess with others they could create shares up to that limit and simply spam the targeted user forcing them to download a ton of files just under that limit... I think the fix to this is to default to always asking the user if they want to accept a share and what to do with it, or even simply accept it but don't auto download.